 |
| Sansa Stark - Reference Image |
With Sansa’s extensive four-season wardrobe to browse
through, I decided on a dress from season 3. There were several factors that
informed my choice, one of which was that I have never done any embroidery. I knew
teaching myself another skill was not in the cards for completing my project on
time. Another factor was the fabric. The motifs used on the show are distinct
and finding a good look-a-like will either cost you time, money, or both.
Spurred on by the annual 50% off remnant sale at Britex, I
started scouring for a purple upholstery fabric with a reverse towards the end
of April. I spent about two hours digging through the remnants to find
something that would fit the look. The total sale was $63. I came home with two
things I thought might work. First, I grabbed 4 ¾ yards purple upholstery fabric that had a
barely visible pattern. The second purchase was a flowery brown and gold print
that I mostly bought for its reverse. I bought 7 yards of it, came home and
realized it wasn’t what I wanted. It looked too “Lannister”, yucky! (The Lannisters are yucky but Sansa's ok?! - Ed)
 |
| The purple fabric at top left ended up being my under-skirt. |
Over the next two weeks (until I was paid again), I looked
online. I checked every discount fabric store Google could feed me. There were
several viable options, but buying fabric online felt a bit risky.
I opted to check another San Francisco gem – Discount
Fabrics on Mission ave. This store had some fantastic candidates. There was a
beautiful lavender with a large, silky flower motif, and several purples and
browns to choose from as well. In the end I didn’t get the purple and olive
green I was looking for, but I got damn close. I took my prize to the cutting
table to find out there was only 5 & 3/4ths left on the bolt – and there was no more anywhere in the store. I considered my options and decided to go for it. And
because I felt I needed a “just in case”, I bought 6 yards of the pretty shiny
lavender fabric. These two items plus two packets of light green piping bumped
the project up a good $89.
 |
| I used the "wrong side" for a more GoT look. |
The costume designer uses very specific motifs for each
character, and wanting to be true to her vision, I started to obsess a bit on
jewelry. I found an almost perfect copy of Sansa’s dragonfly necklace on Etsy
and wrapped the chain with dark mauve embroidery floss. Etsy also sold a
suitable “vintage” substitute for Sansa’s Cabochon-type engagement ring in
Lannister red and gold.
 |
| Sansa's dragonfly & Tyrion's engagement ring. |
Let me be honest here, after that I did bloody nothing towards making
the costume for a month. I did add the occasional reference photo to my iphone,
but otherwise I squandered my time. I was scared – the next step meant actually
drafting a pattern.
I had watched as a friend effortlessly took a sharpie to wrapping paper and made the
shapes of a garment one year ago to draft my Catlyn. He didn’t even have to
measure, it just worked. So cautiously, I took out my wrapping paper, I grabbed
a pencil and I started to draft my
first pattern.

ONE MONTH, ONE WEEK TO COMIC-CON – Pattern Drafting
The first thing I wanted to tackle was something I saw as a rather large hurdle, the front of the dress. Sansa’s dresses almost always have a princess seam, however the dress I chose also had a triangular neckline and a wrap-like front. I attempted to sketch out what I thought this would look like until I was happy and out of wrapping paper. Grabbing whatever cloth I could find from my graveyard of scraps, I traced the pattern onto fabric and pinned it together. Voila! But it was more like Voil–huh? Everything fit together, but the dress was about twice as large as it needed to be. So got a good laugh at how I looked in the dress and then I set to work with alterations.
 |
| Not quite what I had in mind. |
ONE MONTH TO COMIC-CON – Experimentation & Anxiety
I was afraid of screwing up and cutting something I might
not have a copy of, so I decided to set to the lazy man’s way of altering a
pattern. I sewed all of the seams together and tried the dress on inside out.
Starting from the back, I pinned where I thought a seam could come in to make
the dress drape right. After pinning a piece on the right side until I was
happy, I would measure and pin until the left side replicated it. Then I would
sew over the line I had made in pins and test if it improved the fit. If the
answer was yes – it stayed. No? It got the seam ripper and I started the
process over again. I did this with every seam on the bodice until it was about
80% of where I wanted it.
 |
 |
THREE WEEKS TO COMIC-CON – Revisions & Slave Labor!
When I first drafted the pattern, there were five pieces per
side. By the final revision there were four, Back, Side Back, Side Front, and
Front. I cut any excess off of the seams leaving about ½ to ¾ of an inch as a seam allowance to each
piece. Then my boyfriend graciously volunteered to seam rip the pieces apart
while I ironed the fabric and evened the salvage ends.
TWO AND A HALF WEEKS TO COMIC-CON - Sickness
I caught a virus that had me out of commission for nearly a
week. I went to work each day and came home too exhausted to work on the
project more than worrying about its completion. Four days into being sick, I’d
had enough and started to engage in “crunch time” behavior.

ONE AND A HALF WEEKS TO COMIC-CON – Anxiety, Ironing &
Pattern Cutting
I feel it is important to admit that this is the point I
started to freak out, almost to the stage of cutting the pattern on the real
fabric. I started to worry I had f***ed something up. I ran to Jo-Ann’s and
purchased one of the many Game of Thrones inspired knock-off patterns. I
unfolded the fragile tissue paper and was completely thrown off guard by what I
saw. Each drafted piece of this new pattern was within the margins of what I had
already drafted. My pattern even had some improvements in accuracy, so I put
the pattern away, grumbling at having wasted $17.
After ironing
everything, I traced my pattern pieces adding some width here or there as
noted. Every piece had to be cut top to bottom, nothing could be placed upside
down to save on fabric. This proved challenging especially with the length of
the dress. One piece – the side back had to have about a foot added on the
bottom due to a lack of space when cutting the pattern. Thankfully, it blended
in on the finished dress near the final hem line.
 |
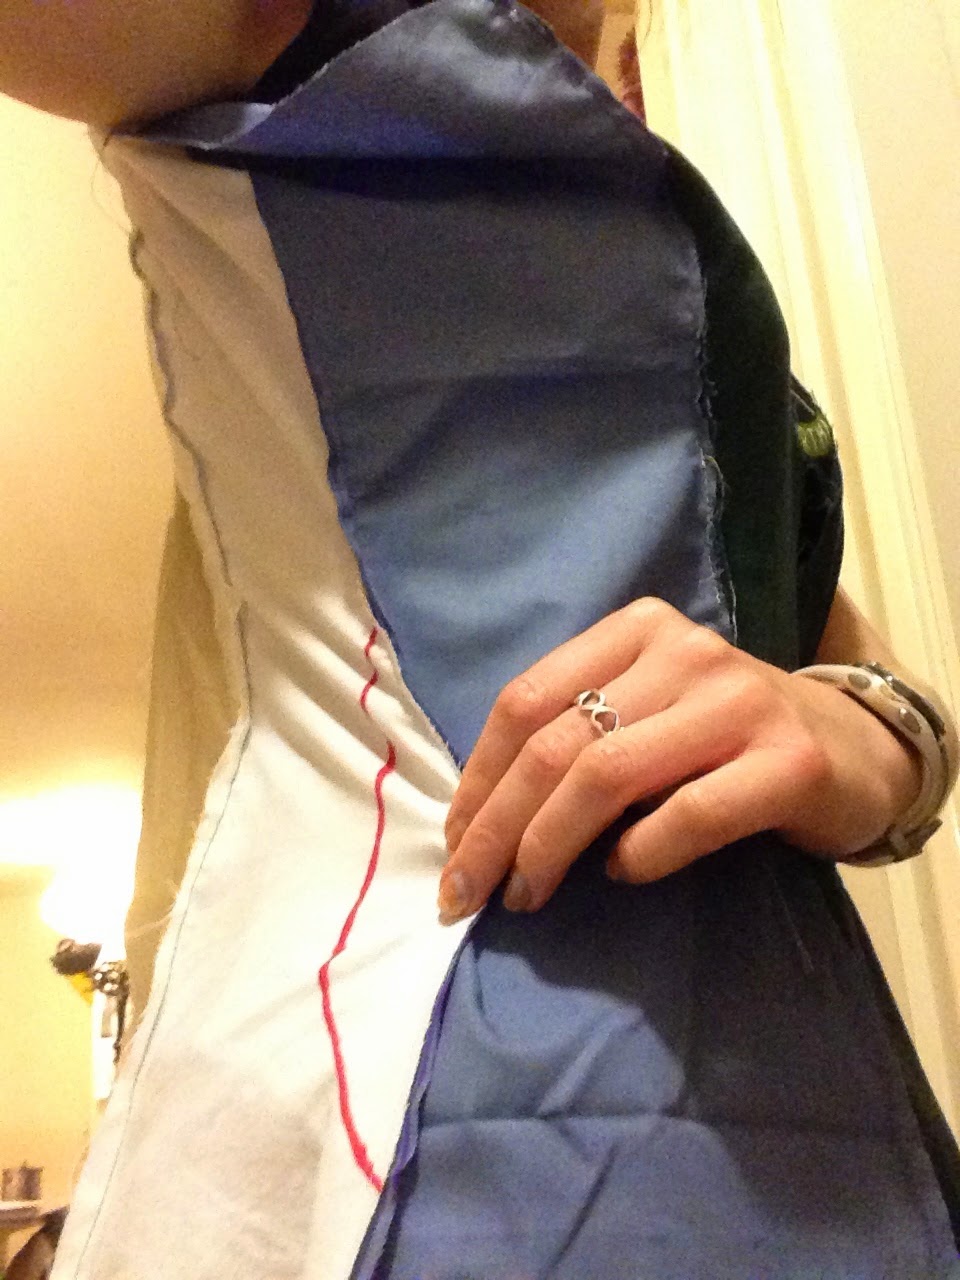
| Measure twice, cut once. |

TEN DAYS TO COMIC-CON – Sewing!
I sewed each piece to its neighbor with a small ¼ inch seam
allowance. After this, I continued to check the fit, altering the dress the
same way I altered the mock up. It was at this point I realized the arm’s eye
was gaping around my bust and was too tall. I didn’t know where to start altering
the pattern, so I asked for help. Thankfully, a friend on Facebook had a plan
that worked; seam rip the last two to three inches of the arm’s eye and see
what works from there. I was advised to keep pinning it until it looked right.
Thank god this worked and I was able to modify the arm holes to my liking.

SEVEN DAYS TO COMIC-CON - Under-skirt
Taking a break from the stress inducing work of alteration,
I needed to make Sansa’s under-skirt. I took visual cues from “viking dress
patterns” on Pintrest boards to inform the shape of each piece. The purple
fabric I purchased at Britex worked well in combination with the over-dress. I
set to work cutting four large semi-circles. Making due with the small amount
of fabric I had, I pinned small pleats in the front. The back of the skirt was
almost completely flat, but with the front folded this way, when the dress
swayed to reveal the under-skirt, at least there would be an illusion of excess
material. I machine stitched, then hand tacked the hem to where it would nearly
hit the ground when I was wearing my costume boots.

SIX DAYS TO COMIC-CON – Alterations & McGuyvering
At this point I had six days until the convention. The
over-dress still needed its sleeves, the bust still needed alteration, piping
needed to be hand sewn down the neckline to the feet and after all that the
over-dress needed to be hemmed so I wouldn’t trip over it on the convention
floor. Then, looking at a high definition screen-shot of the dress I saw the
things I had thought this whole time were just metal clasps were actually
beautiful wing-like or leaf details on a stabby looking pin and circle clasp. I
had gone to such great lengths to replicate the details of the costume, I
couldn’t stop at “good enough”. I hopped across the bay bridge to get to a
store called Lacis that has unusual and rare findings to look for something
more exact. Unfortunately, they had nothing in bronze, or gold or with wings. They did have a very helpful staff who were patient and helped me
put together something that might work. I ended up with two felted end hat
pins, two purse rings with holes in the top and four pretty shell leafs. This
would have to do.

THREE DAYS TO COMIC-CON – Painting & Sleeves
I attached piping to the dress and painted all of the
findings with gold spray paint. After about 3 coats of the stuff, I then
attached the very fragile shells to the center ring with gold colored wire. To
hold the dress together I would have to sew myself into the top & use safety
pins for the rest. It was getting far too close to the wire to add any more
sewing.
I pulled a near all-nighter, re-pinning the arm’s eye for
the hundredth time and sewing together the sleeves with my machine. I then
embarked on the labor heavy task of what I believe is called a “french seam”. I
first ironed the raw edges of the newly sewn seam down, then folded them under
in a way that hid any ugly machine stitches. After pinning and ironing again, I
tirelessly hand sewed each sleeve on both sides of the center seam. I watched
five episodes of Anthony Bourdain travel shows to stay awake, and I didn’t even
finish before calling it quits around 4:30am.
TWO DAYS TO COMIC-CON – More Sleeves
I had to bring one of my unfinished sleeves to work in hopes
of finishing it on my break. I didn’t get much of a chance to sew, however I
did almost forget it at work. I went home and slept like a happy angel for four
hours until it was back to work at 10pm. I eased in the first of the sleeves
& called it a night.

ONE DAY TO COMIC-CON – Even More Sleeves, Final Touches
& No Sleep
Thankfully, I had the day before SDCC off of work.
Unfortunately I had appointments to make & a rental car to pick up. I
constructed the “wing pins” that would decorate the dress with wire. They were
indeed very fragile, but I secured them as best I could.
Next, I sewed the second sleeve to the dress. There was a
small hole by the armpit, fixed it with some extra machine stitching and moved
on.
The over-dress was still un-hemmed, so I did what I could
with my allotted time and machine stitched it. It didn’t look great, but
thankfully I had the perfect color of thread to hide my quick fix.

It was nearing on 4am, our “go” time to leave, so I gave up
on finishing the piping so the raw edges didn’t show when the dress drifted
open. It would have to wait, and honestly I was feeling pretty good about the
dress for having been up all night.
When we got to our hotel, I checked on the dress. It had
gotten a little poofy and rumpled in transit, so I was very thankful I had
brought my iron with me to flatten everything out. I laid out my corset &
my pj shorts for under the dress as well as everything I would need for hair
& makeup on Friday morning.
SDCC FRIDAY – Sansa’s Debut
I woke up shaking,
I could hardly eat and my heart was racing. I was having a panic attack.
I did my hair first. I needed it to stay for 16+ hours, so I liberally used
Nexus “comb through” spraying, then brushing in & spraying again. I then
bobby-pinned Sansa’s top twists to secure them & tied the two halves
together with a three inch piece of leather string. Studying my reference
picture, I made sure to note the shapes and colors of Sansa’s features. Sansa
has natural rosy pink cheeks accented in a crescent moon shape. The eyes are
very well blended, but are in natural light and dark brown shades. I added a
small amount of mascara to the tops and closest bottom lashes. This was to
bring out my eyes for any photographs and darken my blonde lashes. I emulated
the straight angular look of Sophie Turner’s eyebrows with “auburn” eyebrow
powder, only defining the brow hairs closest to my eyes. Last, I added a very
small amount of contouring to the cheeks.
My hands were still shaking as I put on my shoes then
under-shorts & corset. I somehow managed to sew myself into the gown and
safety pin up the front. Pinning the “wings” proved rather difficult given the
very fitted dress, but after another five minutes of positioning I was ready
to go!
I headed down to the lobby and off to iHop to meet a couple
of friends for breakfast. Still a nervous wreck I was put off guard when people
asked to take a picture of me. After all the time I had spent on it, the
costume was still so flawed to me. I got too close to the project and thought
“it has to be perfect”. But here’s the thing, perfect is a lie.
Getting up to order at iHop, I broke one of my “wing”
shells. It cracked, and I nearly cried. After all the work I did, I thought
“crap, I just ruined it”. I was unwilling to give up. I took the broken shell,
unwound the wire that was attaching it to the center decorative ring of the pin
and rewound the wire over the entire shell. This quick fix worked well enough
that it didn’t break again until I was hugging an Arya on the last day, in the
last 10 min of the convention! Yes, I was VERY lucky. But let this serve as a
reminder, never give up hope.

I could write five more pages on what awesome things befell
me the rest of that Friday, but suffice to say Friday was the beginning of the
best convention experience I have ever had. I had so much fun, I nixed my
planned Sunday costume and went as Sansa again instead – I regret nothing!
 |
So after all this time, money & effort, what is next?
Well, I plan on reprising Sansa at future conventions but
there are a few things I need to deal with first.
 I want to fix a few things that weren’t done right. I think
the sleeve edges could be a little flatter. I would like to re-do the
over-dress’ hem the right way & bring down the front corners that were too
far from the ground; uneven with the rest of the dress’ seem. I also need to
hide the raw piping that is on the inside of the over-dress as well as add hook
& eye closures to replace safety pins on the over-dress and the
under-skirt.
I want to fix a few things that weren’t done right. I think
the sleeve edges could be a little flatter. I would like to re-do the
over-dress’ hem the right way & bring down the front corners that were too
far from the ground; uneven with the rest of the dress’ seem. I also need to
hide the raw piping that is on the inside of the over-dress as well as add hook
& eye closures to replace safety pins on the over-dress and the
under-skirt.
I am investigating 3D printing as a way to obtain a
“screen-accurate” wing / seed-pod dress pins to replace my home made models. A
3D model is currently available online and I am looking into printing this and
then making a “sand cast” to have it in
brass rather than just plastic.

If I get it in my head to try embroidery, there are several
other “Sansas” I would love to wear, so maybe this costume is the first of
many, we shall see!
A bit of fun -
a reward for reading this long, there was a wonderful photographer
(Tyler Schirado, Turn the Right Corner) asked me to pose completely out of
character, this is the result. I think I was copied, don’t you?
 |
Justin Rhodes, who tirelessly eased my nerves.
Christine, who dealt with my mess consuming the living room.
Turn the Right Corner
And...
To everyone I met in San Diego, I hope to see you all again next year!
Megan Marie Fox is a cosplayer living and working in San Francisco. She loves Game of Thrones more than is probably healthy.
Did you enjoy this article? Follow us on Facebook to get more great content! We have a weekly podcast you can find on our main site. Also follow us on Twitter and Tumblr!
Megan Marie Fox is a cosplayer living and working in San Francisco. She loves Game of Thrones more than is probably healthy.
Did you enjoy this article? Follow us on Facebook to get more great content! We have a weekly podcast you can find on our main site. Also follow us on Twitter and Tumblr!
No comments:
Post a Comment